

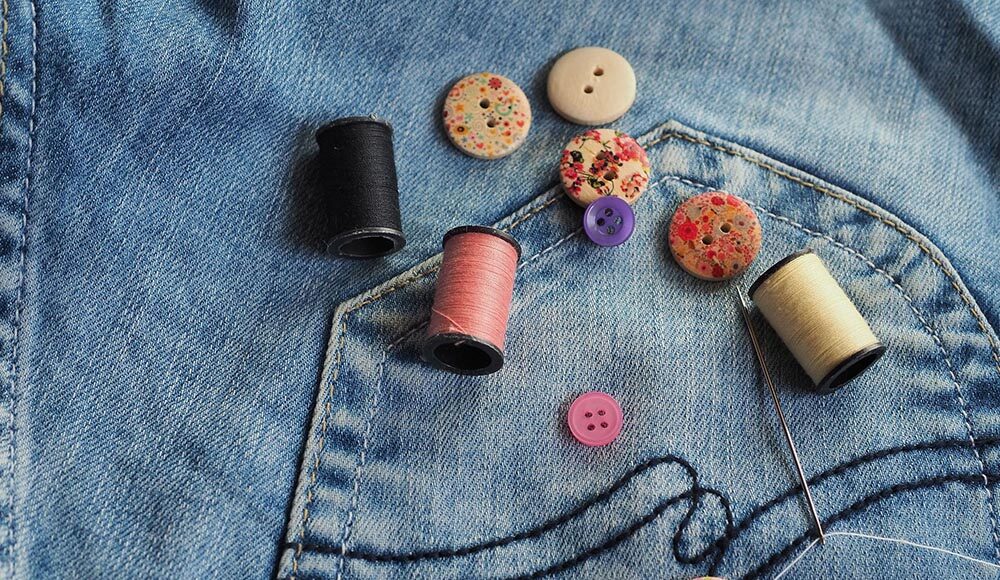
Personalization is having a fashion moment, from street-style initials to runway-adjacent accessories.
A single initial on a cuff or pocket can make an everyday garment feel personal without changing its overall style.
Cross-stitch offers a practical way to add that detail at home, using small X-shaped stitches to build letters from a chart.
Key Takeaways
- Water-soluble canvas dissolves in water; waste canvas is removed thread by thread. Follow the instructions for the guide you choose.
- Test the thread and fabric together before stitching, and choose materials that suit the garment’s care requirements.
What Cross-Stitched Letters Add
Three decisions shape the result: the size of the letters, their placement, and the thread color. Tonal thread creates a subtle finish; a contrasting shade makes the lettering stand out.
Choose Your Alphabet Style (Serif, Script, or Block)
Match the letterform to the garment, and check how clearly it reads at the charted size:
- Compact serif letters suit oxford cuffs and collar points, echoing traditional shirt monograms.
- Bold block letters work well on denim pockets and chore jackets, where the heavier fabric suits a stronger shape.
- Delicate script can suit camisoles and jacket linings, but fine curves may need more stitches to remain readable.
When choosing a designer cross stitch alphabet, compare the letter shapes and stitch dimensions rather than relying on the preview alone.
Cottage Garden Threads lists an alphabets collection alongside its other cross-stitch patterns, making it a useful place to compare styles. Check each listing for what it includes.
To estimate size, divide the chart’s width and height in stitches by the canvas count.
On 14-count canvas, 14 stitches fit in one inch, so a letter 14 squares tall finishes at about an inch. Include spaces between letters when measuring a full word.
Materials Checklist
- Water-soluble canvas or waste canvas in a known count; DMC’s water-soluble canvas is 14-count
- A sharp embroidery needle suited to the fabric and embroidery thread in your chosen colors
- An embroidery hoop or small frame
- Contrasting basting thread, small sharp scissors, and tweezers
- Clean towels for drying and pressing
Prewash the garment according to its care label. Stitch a small sample on matching scrap fabric, then remove the guide and wash the sample as you intend to wash the finished piece.
Check for bleeding, puckering, and whether the thread gives enough coverage. If the color runs, change thread before starting the garment.
Plan the Placement
- Pick the spot: collar point, chest pocket corner, cuff, hem, or back neck. Keep pocket bags and linings clear so you don’t stitch layers together.
- Mark the center with a loose basting stitch, then check the position while the garment is being worn.
- Start with a stable woven fabric such as denim or cotton shirting. Stretch knits are easier to tackle once you’re comfortable keeping the fabric from stretching as you stitch.
- Choose a guide large enough for the lettering, with extra space around the edges for basting.
Method A: Water-Soluble Canvas
Water-soluble canvas provides a temporary grid that washes away after stitching.
Use it only when the garment and thread can tolerate the soaking temperature specified in the guide’s instructions.
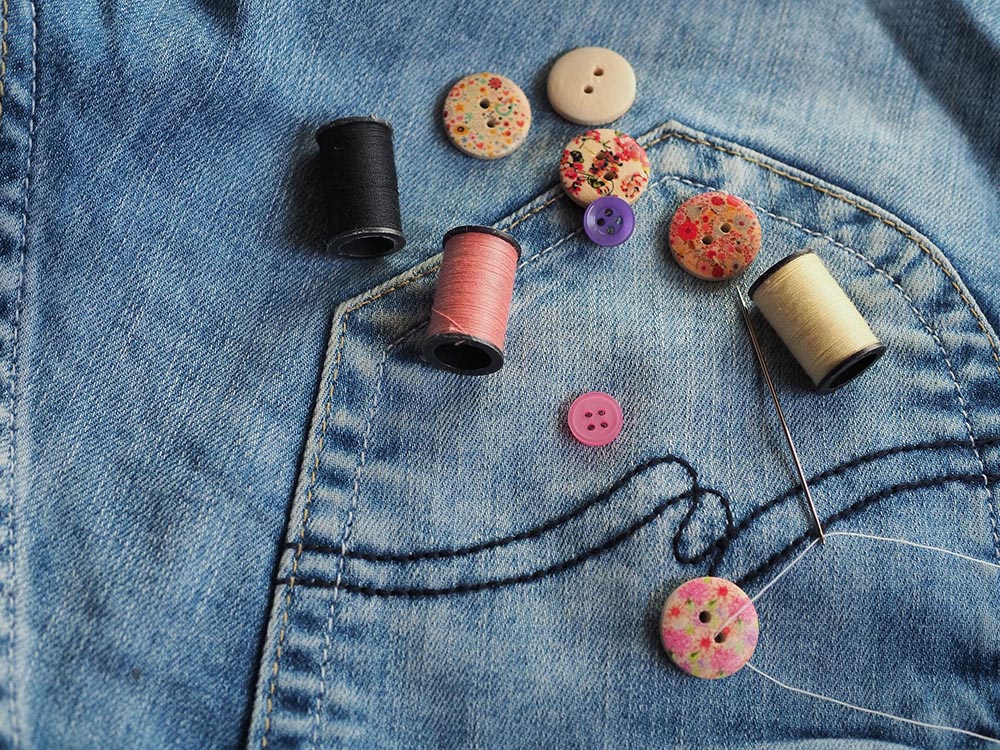
- Cut the guide slightly larger than the design.
- Baste it to the garment around the edges and along the center lines.
- Hoop the garment with the guide on top, keeping the fabric flat without stretching it.
- Stitch each X through both guide and fabric, following the chart. Keep the top stitch of each X facing the same direction.
- Remove the basting, then soak and rinse according to the guide’s instructions until it has dissolved completely.
- Let the garment dry, then press from the reverse on a clean towel at a temperature safe for the fabric and thread.
Method B: Waste Canvas
Waste canvas also supplies a temporary grid, but its threads are pulled out individually after stitching. It works well for small designs on stable woven garments.
- Cut a piece with a generous border around the letters.
- Baste it securely so the grid cannot shift.
- Stitch from the center outward, passing through the grid openings without splitting the canvas threads.
- Remove the basting and dampen the canvas if its instructions recommend it.
- Trim excess canvas only if needed, leaving enough thread to grip and keeping scissors clear of the garment and stitches.
- Pull the grid threads out one by one with tweezers, supporting the fabric as you work.
Secure embroidery thread ends under the stitches on the reverse, not around the removable canvas threads.
Avoid pulling stitches too tight, which can trap the grid and pucker the garment.
Finish and Care for the Stitching
Choose a washing method that’s safe for both the garment and the embroidery thread.
A gentle hand wash may suit washable pieces, but check their care instructions first.
Press from the reverse on a clean towel to avoid flattening the stitches.
Stitches on clothing face more friction and washing than a framed sampler.
Check for loose thread ends after wear, especially at cuffs and pocket edges.
Small Personalization Ideas
Personalised stitching is part of embroidery’s fashion comeback, and small, quiet details often look the most considered:
- Two letters at the side hem of a white shirt, stitched tonally so they appear only up close.
- A hidden message inside a jacket, visible only to the wearer.
Troubleshooting
- Skewed letters: check that the grid is straight and firmly basted before continuing.
- Puckering: loosen overly tight stitches and check that the hoop isn’t stretching the fabric. Pressing alone won’t correct tight stitching.
- Residue or stray fibers: rinse soluble canvas again according to its instructions, or gently lift loose waste-canvas fibers with tweezers.
- Thread bleeding: switch threads if the test sample runs. Cold water alone won’t make an unstable dye colorfast.
Start Small, Stitch Slowly
Practice on a thrifted shirt before stitching a gift. Choose a chart that suits the garment, calculate its size using your canvas count, and test the materials together.
The alphabets range at Cottage Garden Threads is a useful starting point for comparing letterforms; careful placement and even tension will help the finished detail look neat.